It’s wrong to think of tactics successfully occurring because of super-clever moves in genuinely equal positions. For a winning combination to be possible, there must be something wrong with the other side’s position. In chess, you can’t be an attacking genius unless your opponent has been, or will be, a bit of a defensive idiot. Looking to sacrifice a piece with every move is a waste of time and nervous energy.
It’s only the exercises in tactic books that will all have explosive solutions, and those exercises will have been carefully pre-selected from certain games. Such as the one that follows. The lesson from this game is that the winner did not play perfectly throughout, nor did the loser do the opposite. What the winner did was probe and pressurize, as best as he could, and then take the tactical opportunity if it came, which it certainly did.
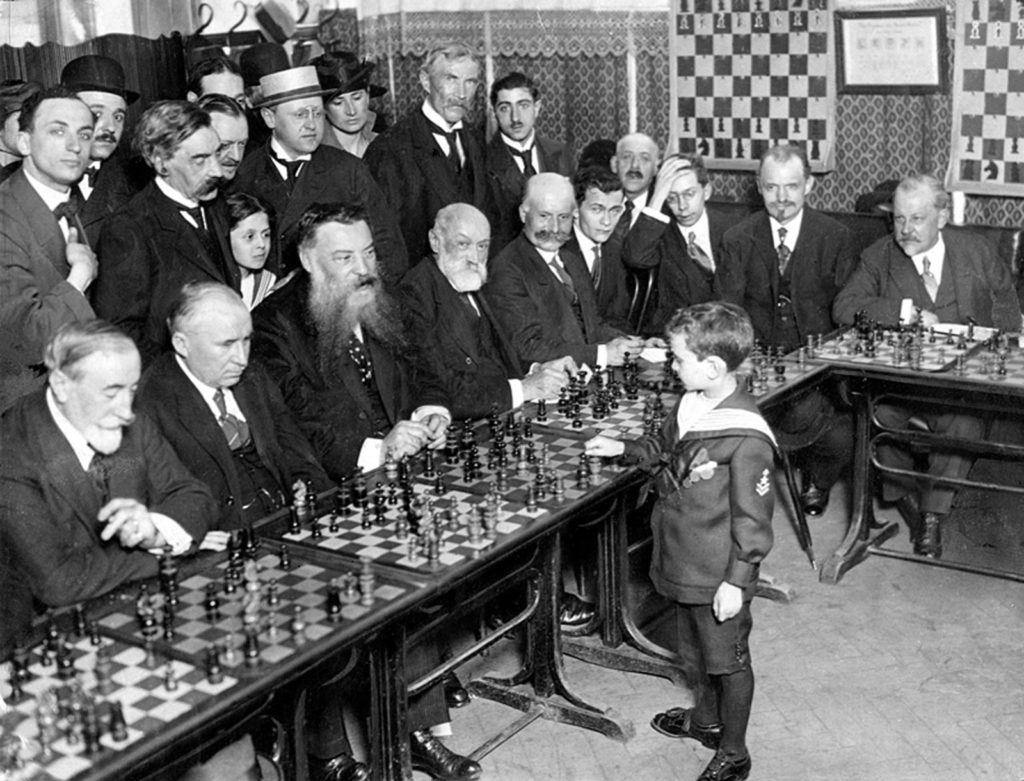
Samuel Reshevsky versus H. Traube, Simultaneous display (one of 20 games by White) in Hannover, Germany, early 1920

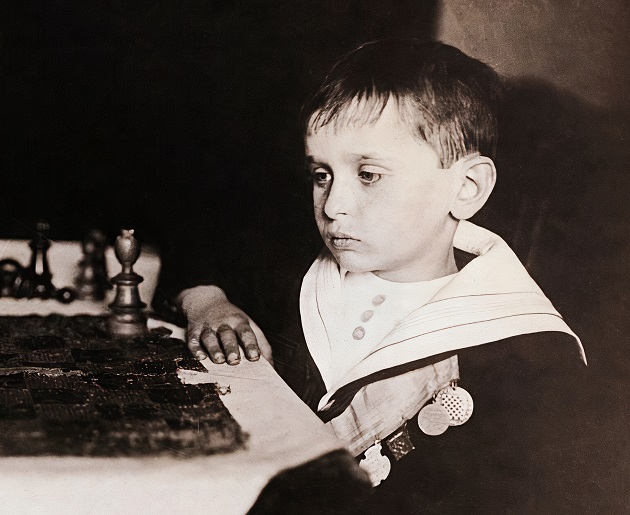
A word about one of the players; White was an unusually small boy, only eight years old (it was claimed). He grew up to be Sammy Reshevsky, in chess terms a giant, who was to defeat the likes of Alekhine, Benko (six times), Botvinnik (twice), Capablanca, and Fischer (four times).

1.f4
Bird’s Opening. A kind of reverse Dutch Defense (which is 1.d4 f5, also 1…f5 against most things). Unusual but okay.
1…e6 2.Nf3 d5 3.g3!?
Historically the “wrong” fianchetto. The pawn on f4 suggests that the c1-bishop should seek a dark diagonal other than c1-h6, so the standard line is 3.b3 (or 3.e3 first) intending Bc1-b2. Instead, 3.g3 introduces a reverse Leningrad Dutch Defense (in which Black has pawns on f5 and g6). Nowadays when played by White, f4 with g3 is sometimes called the Polar Bear System.
Note when this antique game was played — 1920! Incredible, because the Leningrad Dutch was practically unknown till much later, let alone its reverse white version. Where on earth did the child get 3.g3 from?
3…Nf6 4.Bg2 Bd6 5.d4
This stops …e6-e5 (with which Black could hope to free his position) but creates a hole on e4. Also, with pawns on d4 and f4, the c1-bishop will have limited mobility.
5…Nc6
It looks odd to block the c-pawn but the knight is going on a journey. All the same, castling is preferable. In the game, Black wastes several opportunities to get castled.
6.Ne5 Ne7 7.Be3
To stop …c7-c5. However, on e3 the bishop is possibly prone to an attack by either black knight. This isn’t a great example of the 3.g3 system so far, though, of course, it’s up to Black to exploit any drawbacks.
7…c6
There’s no particular need for this since castling is the obvious move. It seems Black trusts the look of a barricaded center and compares it to a secure wall of sandbags. However, in chess, such a clump means that the pieces and pawns simply get in each other’s way.
8.a3
Castling is the obvious move. However, White is planning an early queenside expansion as he can see that his own king is quite safe where it is for now.
8…h6?!
A waste because nothing was threatening to come to g5.
9.Nd2 Nd7
Compare the two sides’ ninth moves. White developed his knight in front of his queen, freeing the a1-rook; Black undeveloped his knight in front of his queen, causing congestion. Yes, Black intends to use his now freed f-pawn to kick away the white knight on e5. However, instead of being clever like that, Black should just act simple and castle.
10.c4!
White, after a strange start, has achieved a better, more threatening position.
10…b6 11.b4 f6?
Black has played several weakening pawn moves at the cost of development, and this is the worst of them. Note how …h7-h6 and now …f7-f6 have created white holes in the black kingside.
12.Nxc6!!
Even in a multi-board exhibition of twenty opponents, the boy spots this. Having said that, it is fairly easy to see that initially, White gets 2 pawns for the knight after 12…Nxc6 13.cxd5 exd5 14.Bxd5, so already that should make 12.Nxc6 into a move for consideration. (In addition, 12.Nxc6 Nxc6 lures a black knight away from the kingside.)
However, are 2 pawns sufficient compensation? White must see deeper than 14.Bxd5 in order to play 12.Nxc6 in a real game that matters. Many chess players reading a puzzle book would accept 12.Nxc6 as “tactically promising” and move on to the next puzzle. That’s the problem with puzzle books. Sacrifices that look like they might work, will work — unlike in real life (IRL) where most “sacrifices” are actually blunders.
White has only a small plus after 12.Nd3. However, if during a game you really can’t see why 12.Nxc6 is so good, then 12.Nd3 is the right choice even if strictly speaking it’s a badly missed opportunity.
12…Nxc6
You must always calculate what happens if your sacrifice isn’t accepted. There’s more than one story about a game between strong grandmasters in which one of them, after a long think, offers a piece sacrifice only for it to be turned down almost immediately. In the post-mortem, the question is asked, “How could you reject my complicated sacrifice so quickly?” Answer, “Because you’re such a strong player I knew the sacrifice had to be pretty good! — so I avoided taking it.” Never assume that your opponent will just play along and conform to your hostile plans.
In this case, if not 12…Nxc6, White goes a pawn up and completely dominates positionally: 12…Qc7 13.Nxe7 Bxe7 (13…Kxe7 14.c5!) 14.f5 undermines the black center, puncturing the remaining sandbags, so to speak.
13.cxd5 exd5 14.Bxd5
14…Bb7
14…Ndb8 is also met by 15.Qc2. Bear in mind that if White regains the piece, he still gets to keep the 2 pawns.
15.Qc2!
It’s these kinds of dual-purpose “double threat” moves — forks are the simplest example — that so often win games. It’s very hard to defend against simultaneous attacks. In this case the queen on c2 eyes both the vulnerable knight on c6 and the g6-square from which to give a deadly check.
Note that 15.Rc1 is not a double attack and can be answered by 15…Na5!
15…Rc8??
Black saves his knight only to get checkmated. If he saves his king he goes material down anyway. For example, 15…Qc8 16.Qe4+ Kd8 17.Rc1 threatening b4-b5; or 15…Qe7 16.Bxc6 Bxc6 (16…Rc8 17.Qg6+ Kd8 18.Bxb7+-) 17.Qxc6 Rd8 18.Bf2 intending e2-e4.
16.Qg6+ Kf8 17.Qf7# 1–0
A weird game wonderfully won.
Marek Soszynski
Play through the whole game here:
For more on Sammy Reshevsky, particularly his earlier years, including proof of his real age, see The Great Reshevsky: Chess Prodigy & Old Warrior, exclusive to Forward Chess.

Marek Soszynski is a master twice over: a Master of Philosophy and a Correspondence Chess Master.
He is the author or co-author of several chess books, including “The Great Reshevsky”, “
The Polish Defense”, and “Sabotaging the Sicilian French & Caro-Kann with 2.b3” which you can find on Forward Chess.
He lives in the city where he was born, Birmingham, England.
- Rock Solid Chess: Volume 2 - February 21, 2024
- Unsung Heroes of Chess - February 19, 2024
- Build Up Your Chess: The Fundamentals - February 7, 2024

